


PHOENiX Sample · 4 min read · Last updated
Two white cards may look interchangeable in one room and noticeably different in another. Before treating the difference as a coating defect, investigate the complete material system: the coating, exposed paper, backing and the light. White sample programs need explicit control because a seemingly neutral support can participate in the visual result.
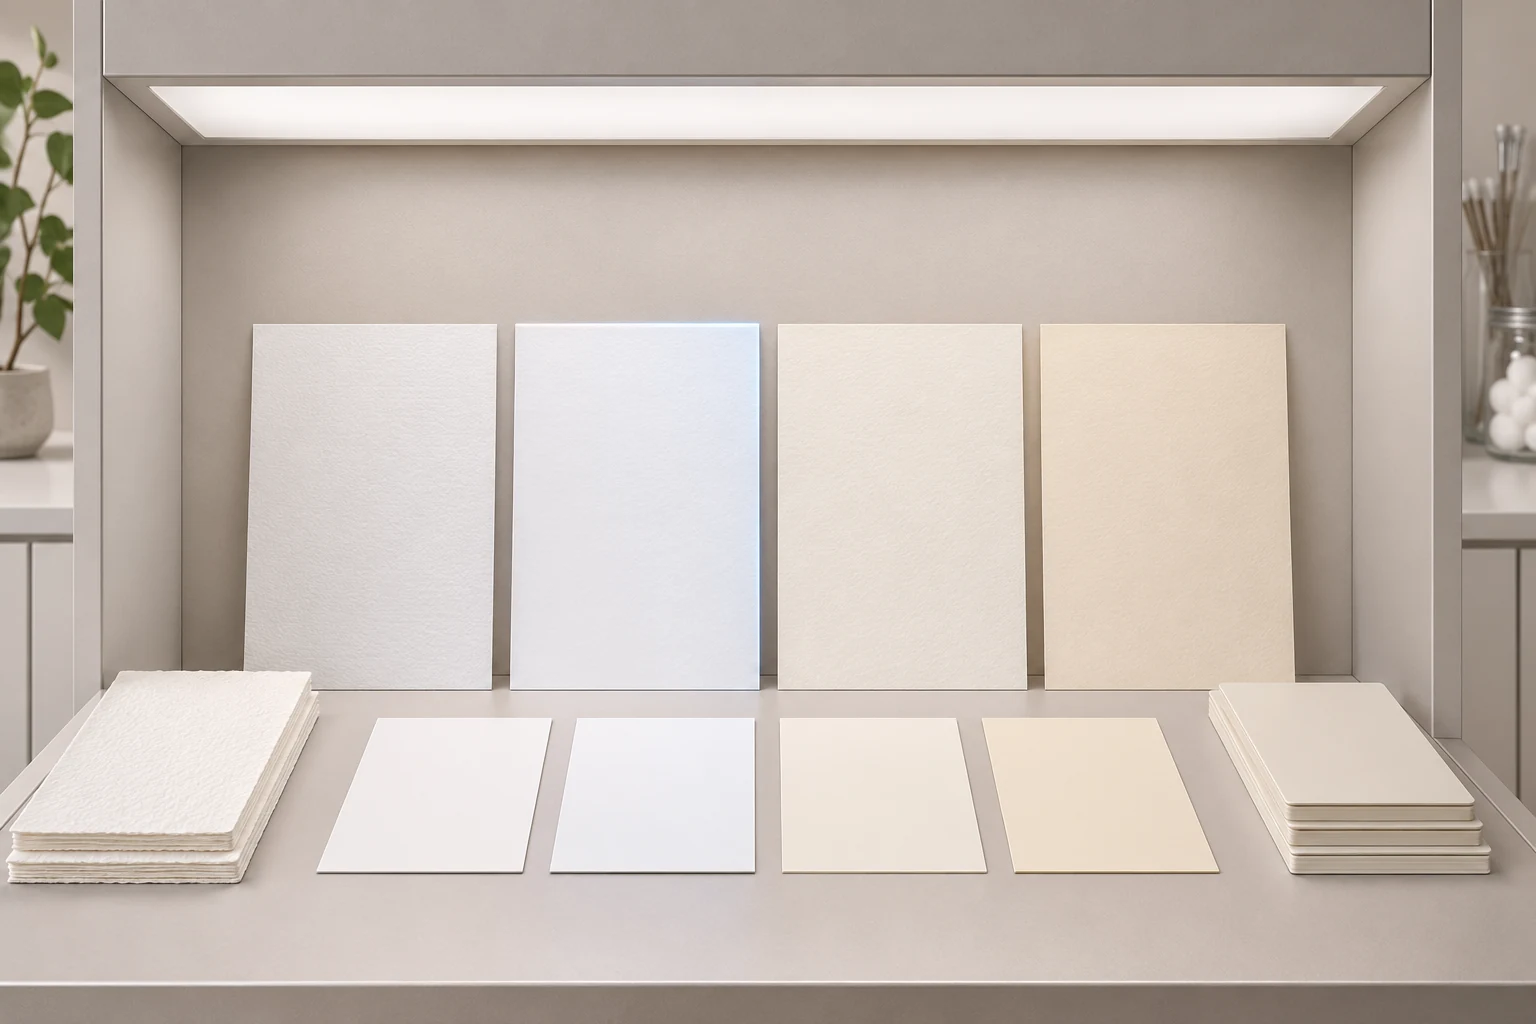
AI-generated concept illustration: White sample boards and cards with subtle differences in appearance.
Recognize the contribution of fluorescence
Optical brightening agents can absorb ultraviolet radiation and emit visible light in the blue region. That contribution can make a material appear less yellow or brighter. It depends on the illumination available to excite the material, so a comparison under one light may not predict another. [1]
The practical implication is not that every white paper contains a brightener or that brightened material is unsuitable. It is that the presence and role of fluorescence should be established when white appearance is important. Ask for relevant material information and verify the assembled sample rather than relying on a generic paper description.
Inspect the complete construction
A fan deck may combine a painted chip, a printed label and an exposed paper margin. Even if the chip is stable, a different surrounding white can alter the presentation. A translucent paint layer can make backing selection more consequential still.
Compare candidate supports before assembly, then compare finished samples with their actual margins and backing. Keep the approved support revision in the bill of materials. Substituting another “white” stock is a technical change if the support contributes to the approved appearance.
Specify the measurement condition
Instrument UV content and its calibration matter when evaluating fluorescent whites. A reported whiteness value without the relevant measurement conditions can be misleading. Konica Minolta discusses the connection between optical brighteners, whiteness and suitable calibration. [2]
| Record | Purpose |
|---|---|
| Sample construction and backing | Identify what was actually measured |
| Instrument geometry and UV setting | Make the method interpretable |
| Reference and calibration procedure | Support comparable readings |
| Illuminant, observer and reported index | Explain the calculation |
| Visual review lighting | Connect numbers with the intended use |
Do not mix results from different whiteness indices or UV settings in one pass/fail column without establishing comparability. Where fluorescence is material to the decision, use a method appropriate to the application and the available equipment.
Investigate a white-to-white complaint
Consider a hypothetical replacement batch whose margins look cooler in a showroom but acceptable in the packing area. Start by confirming the paper and coating revisions. Compare old and new stock, uncoated and assembled, under documented lights. Then obtain measurements using the agreed UV condition.
This sequence separates a support change from a coating change and avoids correcting the paint to compensate for an unintended paper substitution. Keep the investigation specimens and the supplier lot details. If the agreed appearance cannot be maintained, reopen approval rather than relabeling the difference as normal variation.
Check change over the sample’s intended life
For samples expected to remain in circulation, retain unexposed controls and compare them with specimens exposed under a documented program. Evaluate the white support and painted area separately. Record visible yellowing, staining or loss of brightness without assuming a single mechanism from appearance alone.
Choose exposure conditions that answer the actual use question: a retail display, an office reference and a stored archive are different applications. A short screening test may compare constructions; it should not be presented as a proven service-life forecast.
Approve a system rather than a word
Screen a replacement stock for fluorescence
Compare approved and replacement paper in the same instrument geometry and on the same backing. When the instrument supports both graphic-arts modes, measure each stock in M1 and M2. M1 controls illumination relative to D50 and M2 excludes UV. If the replacement looks bluer in M1 and the difference shrinks in M2, investigate optical brighteners. Record the modes and check the assembled cards under the intended viewing light before approval. X-Rite — The M Factor
Practical conclusion
The final specification should identify the white substrate, coating construction, measurement method and viewing conditions. “Bright white” is a description, not an acceptance protocol. With those details controlled, the team can distinguish intentional material choices from accidental variation and preserve a consistent context for every color on the card.